Elasticsearch构建全文搜索系统 |
您所在的位置:网站首页 › Elasticsearch 搜索速度 › Elasticsearch构建全文搜索系统 |
Elasticsearch构建全文搜索系统
|
目录前言一、安装1.安装es2.启动集群3.安装管理界面4.安装分词插件二、使用1.创建索引2.插入数据3.批量插入数据4.查询数据5.修改数据6.删除数据7.索引关闭和开启总结
前言
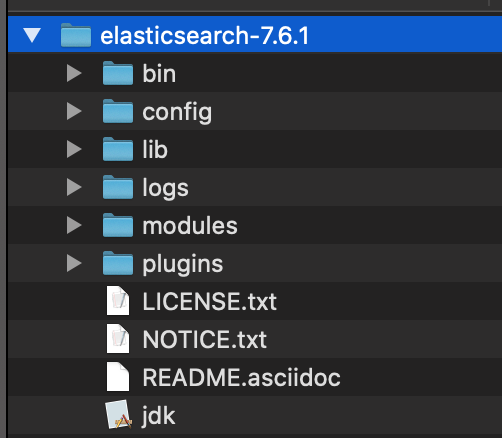
Elasticsearch 是一个分布式、可扩展、实时的搜索与数据分析引擎,通过它我们可以构建出一个强大的全文搜索系统,解决诸如文章检索慢,商品检索慢、MySQL的like查询慢这样的问题。 Elasticsearch是基于hadoop创始人道哥的另一杰作Lucene实现的,速度非常快,核心是使用了倒排索引这样的结构。关于倒排索引是什么,可以参考搜索引擎中的倒排索引是什么 接下来,就以这篇倒排索引中的例子,演示一下ElasticSearch的使用 假设我们有海量文章,如下 页码 内容 1 生命在于运动 2 运动是生命的源泉 3 日复一日地坚持练下去吧,只有活动适量才能保持训练的热情和提高运动的技能.——塞涅卡 4 活动是生活的基础!——歌德 5 人的健全,不但靠饮食,尤靠运动 6 奥林匹克的格言是“更高,更快,更强” 7 身体的健康因静止不动而破坏,因运动练习而长期保持.——苏格拉底 8 chenqionghe喜欢运动,绳命是如此的精彩,绳命是如此的辉煌我们想像这是千万级别的表,最后需要实现传入关键字,返回相应的文章 例如:搜索运动返回页码1,2,3,5,7,8对应的文章、搜索chenqionghe返回页码为8的文章 一、安装 1.安装es查看官网地址,直接下载安装就行了,我用的是mac直接下了mac版本的,另外也可以使用dokcer安装
解压后长这样
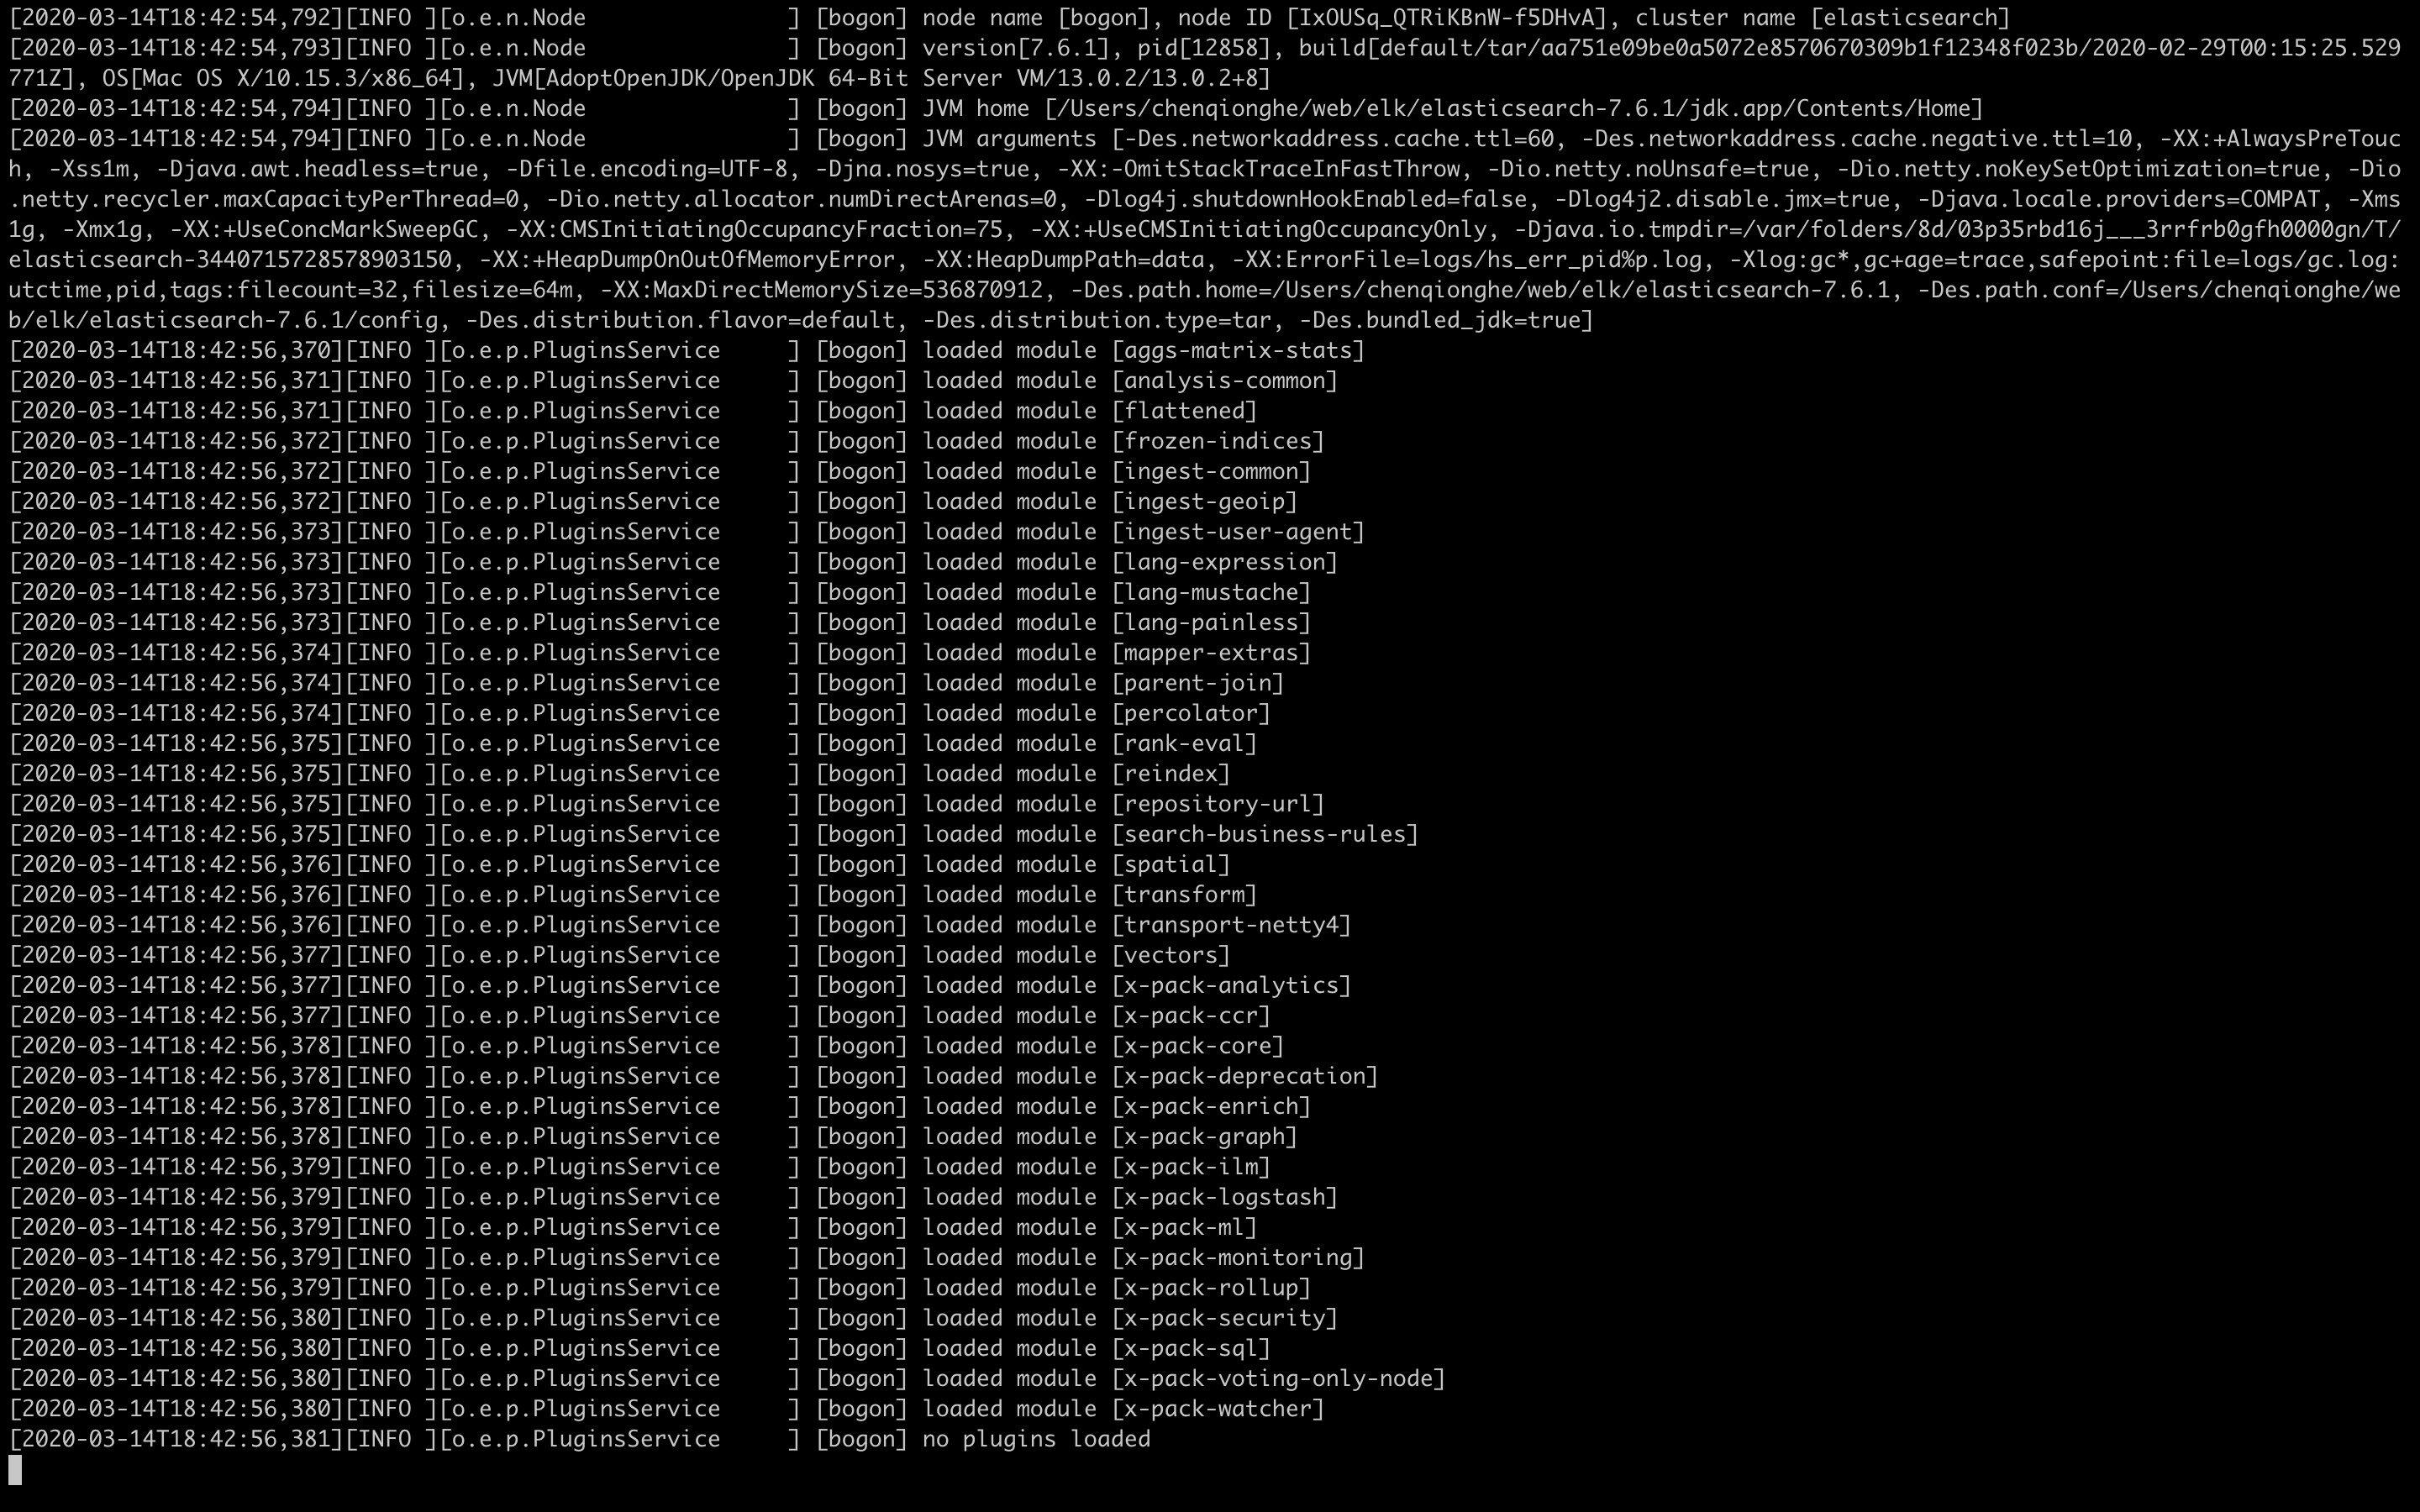
es依赖java环境,需要指定jdk版本,我们加入一下java相关环境变量 export JAVA_HOME=/Users/chenqionghe/web/elk/elasticsearch-7.6.1/jdk.app/Contents/Home/ export PATH=$JAVA_HOME/bin:$PATH启动一下看看 ./bin/elasticsearch看到启动报错 uncaught exception in thread [main] ElasticsearchException[Failure running machine learning native code. This could be due to running on an unsupported OS or distribution, missing OS libraries, or a problem with the temp directory. To bypass this problem by running Elasticsearch without machine learning functionality set [xpack.ml.enabled: false].]解决办法,修改./config/elasticsearch.yml添加 xpack.ml.enabled: false再次启动,成功运行,画风如下
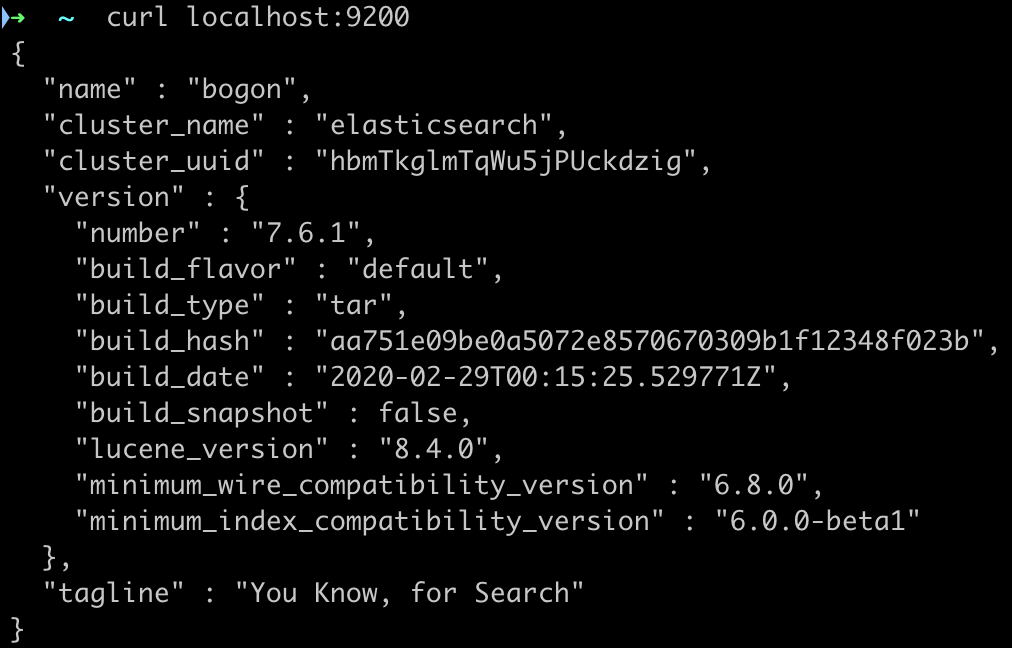
默认启动的是9200端口,我们来测试一下 ➜ ~ curl localhost:9200可以看到,es可以正常运行起来了
一般es都是以集群的方式存在,接下我们演示一下启动集群。 编辑./config/elasticsearch.yml,指定集群名称,集群名称我指定成了chenqionghe cluster.name: chenqionghe指定节点名称 ode.name: chenqionghe-1设置初始化的节点 cluster.initial_master_nodes: ["chenqionghe-1"]设置监听的端口,这里不限定ip,指定为0.0.0.0 network.host: 0.0.0.0端口默认9200 http.port: 9200添加支持elasticsearch-head界面参数 http.cors.enabled: true http.cors.allow-origin: "*" http.cors.allow-methods: OPTIONS, HEAD, GET, POST, PUT, DELETE http.cors.allow-headers: "X-Requested-With, Content-Type, Content-Length, X-User"再次启动 ./bin/elasticsearch 3.安装管理界面elasticsearch-head可以很方便的查看es集群状态,查看官网地址:elasticsearch-head git clone git://github.com/mobz/elasticsearch-head.git cd elasticsearch-head npm install npm run start打开http://localhost:9100/,如下
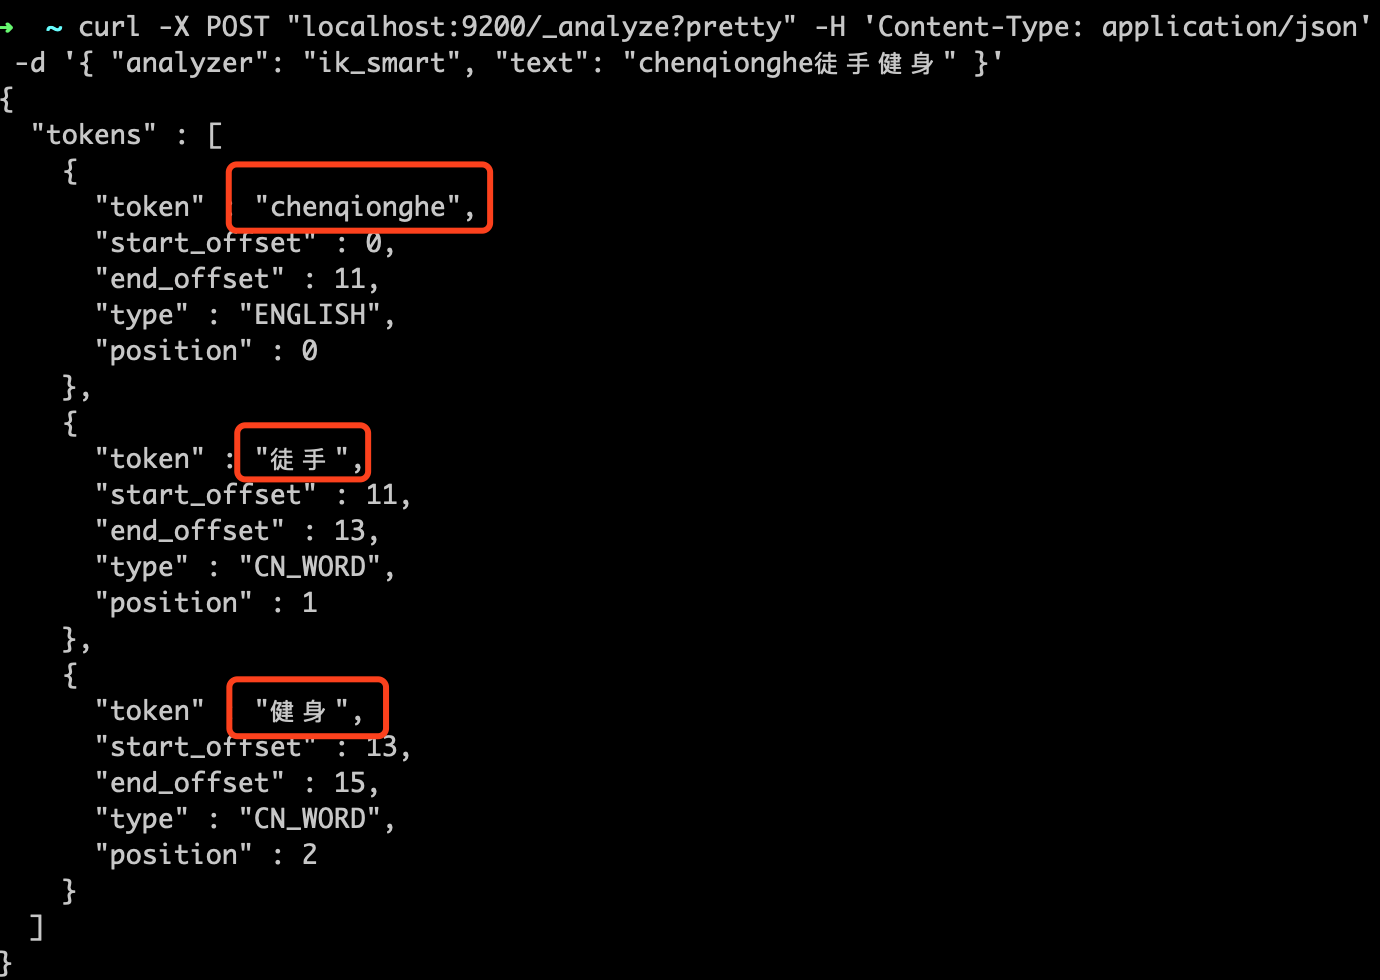
插件我们使用的是elasticsearch-analysis-ik,参考地址:elasticsearch-analysis-ik/ ./bin/elasticsearch-plugin install https://github.com/medcl/elasticsearch-analysis-ik/releases/download/v7.6.1/elasticsearch-analysis-ik-7.6.1.zip验证一下分插件 curl -X POST "localhost:9200/_analyze?pretty" -H 'Content-Type: application/json' -d '{ "analyzer": "ik_smart", "text": "chenqionghe徒手健身" }'
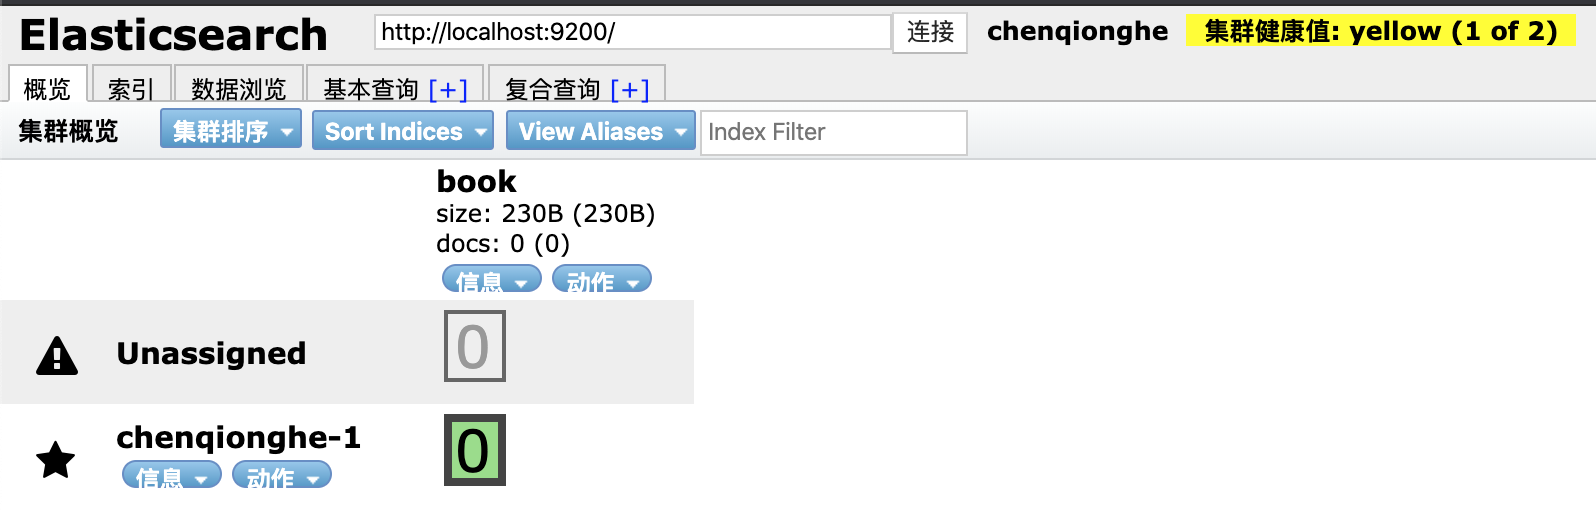
可以看到,已经可以分词了,oh yeah~ 二、使用ES中有index、document、filed、mapping这样的概念,我们以MySQL的结构为参考对照一下,如下 ElasticSearch MySQL index 表 document 行 field 列 mapping 表结构Elasticsearch主要还是使用API,具体使用请参考:Document APIs 1.创建索引这里index我取名叫book ➜ ~ curl -X PUT "localhost:9200/book" -H 'Content-Type: application/json' -d '{ "mappings": { "properties": { "page": { "type": "long" }, "content": { "type": "text", "analyzer": "ik_max_word", "search_analyzer": "ik_max_word" } } } }' {"acknowledged":true,"shards_acknowledged":true,"index":"book"}创建成功,但是查看head界面,但是这个黄色不怎么优雅呀,原因是虽然启用了集群,但是还是单节点运行的,群集无法放置副本。
集群的健康状况为 yellow 则表示全部主分片(number_of_shards)都正常运行,但是副本分片没有全部处在正常状态,单节点无论有多少个副本分片(number_of_replicas)都是 unassigned ,它们都没有被分配到任何节点。 在同一个节点上既保存原始数据又保存副本是没有意义的,因为一旦失去了那个节点,我们也将丢失该节点上的所有副本数据。 我们需要把这个副本设置为0,因为索引一旦建立,分片数量不能变,我们需要删除再重新建立一下索引 curl -XDELETE http://localhost:9200/book curl -X PUT "localhost:9200/book" -H 'Content-Type: application/json' -d '{ "settings":{ "number_of_shards": "1", "number_of_replicas": "0" }, "mappings": { "properties": { "page": { "type": "long" }, "content": { "type": "text", "analyzer": "ik_max_word", "search_analyzer": "ik_max_word" } } } }'再次查看,健康了
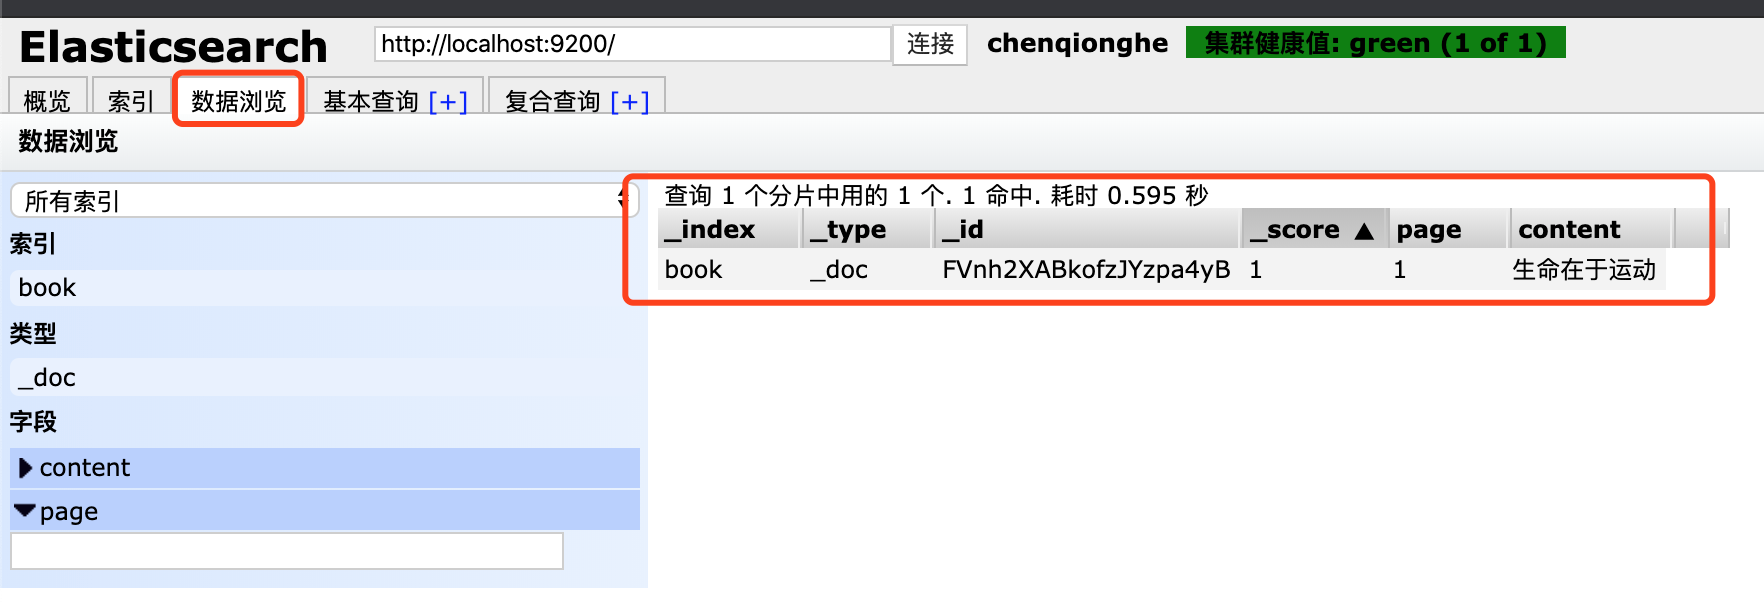
我们可以看到已经成功插入一条数据
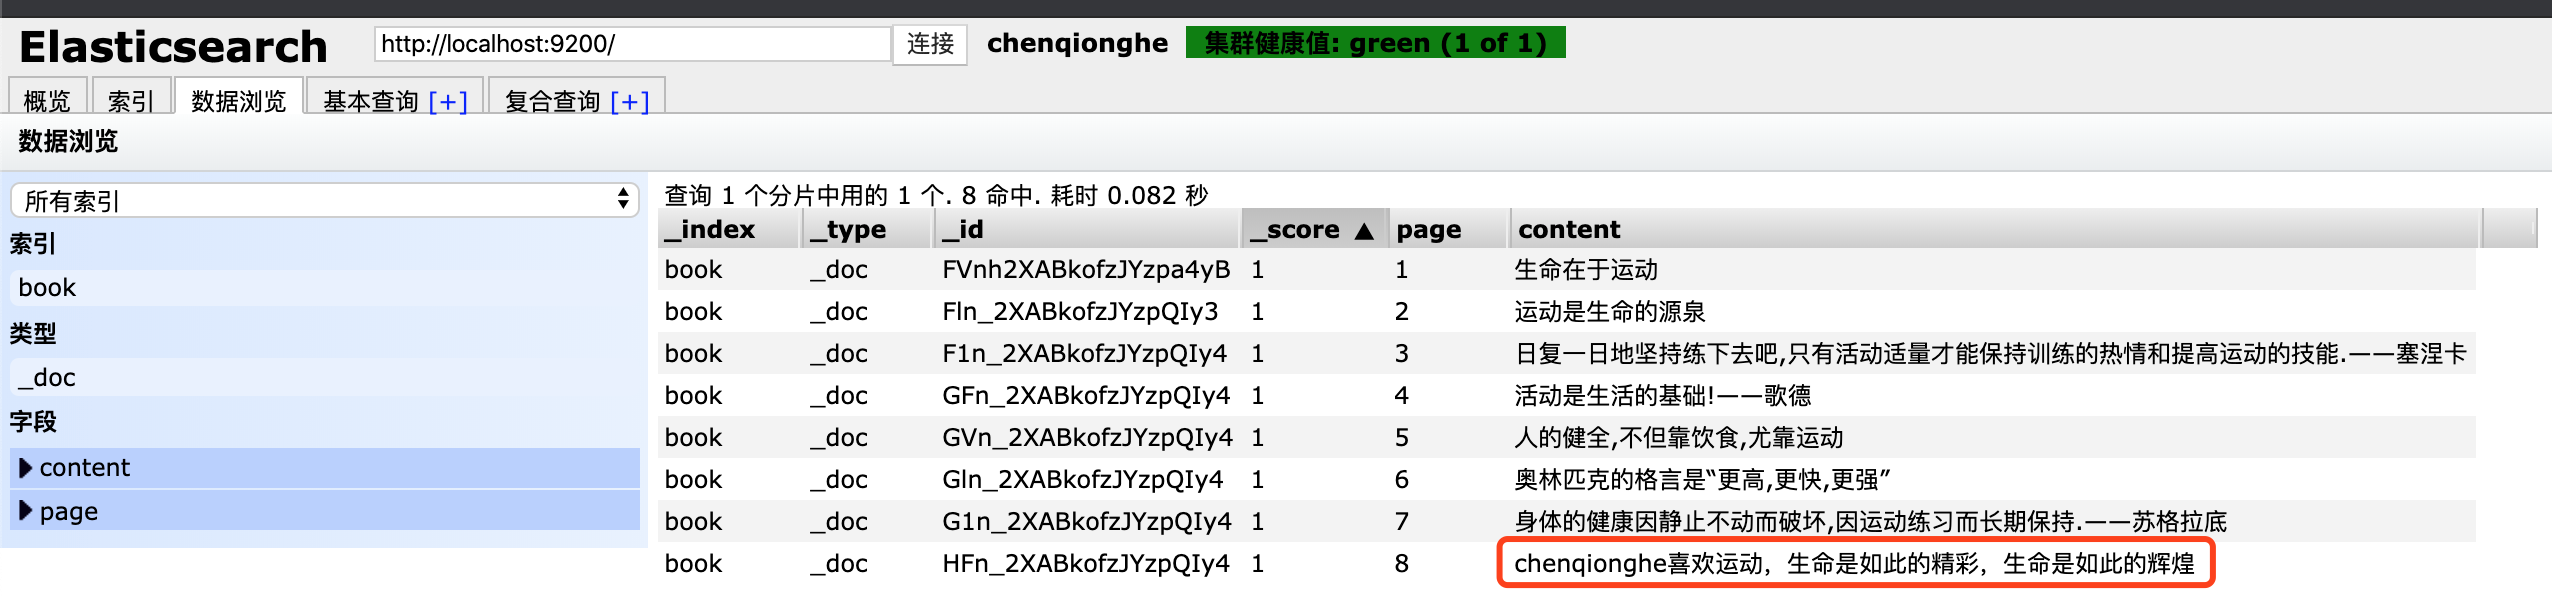
可以看到成功批量插入
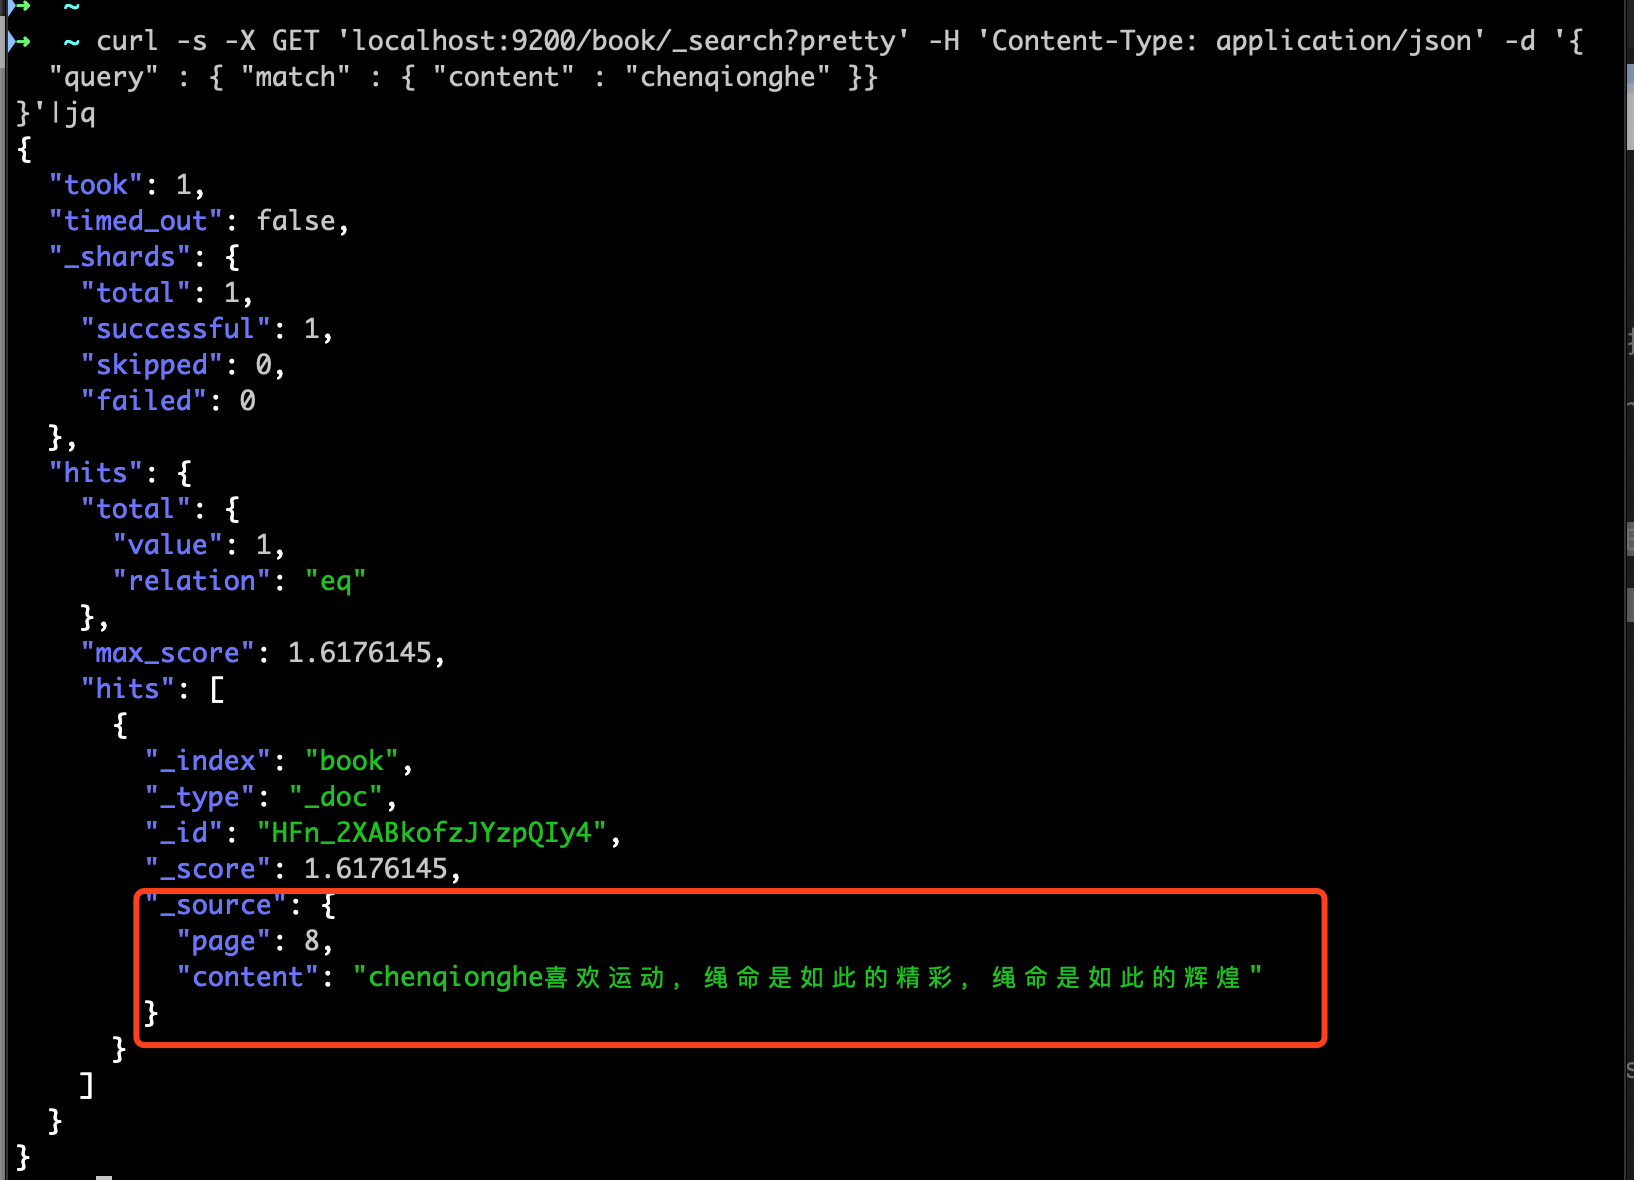
可以看到匹配到了
可以看到,验证通过
拉下来,我们将chenqionghe这条记录的绳命改为生命, curl -X POST "localhost:9200/book/_doc/HFn_2XABkofzJYzpQIy4" -H 'Content-Type: application/json' -d '{ "page":8, "content": "chenqionghe喜欢运动,生命是如此的精彩,生命是如此的辉煌" }'可以看到,更新成功
如果关闭了一个索引,就无法通过ES来读取和写入其中的数据,直到道再次打开它 # 关闭 curl -XPOST 'localhost:9200/book/_close' # 开启 curl -XPOST 'localhost:9200/book/_open' 总结通过Elasticsearch,我们可以快速构建出一个强大的全文搜索系统,安装简单,通过API使用也简单。 倒排索引为搜索而生,先对需要索引的字段进行分词,再通过词直接匹配出文档,速度非常快,这是优点。但是,相比数据库采用的 B 树索引,它的写入和更新性能都比较差,因此倒排索引也只是适合全文搜索,不适合更新频繁的交易类数据。 总之,安装使用Elasticsearch其实就是这么简单,惊不惊喜,意不意外呀,light weight baby! 更多资料请参考 : Eelasticsearch权威指南 Eelasticsearch-PHP |


【本文地址】
今日新闻 |
推荐新闻 |